The Best DIY Cat Tree Project: A Step-By-Step Tutorial
Ads Disclosure ?
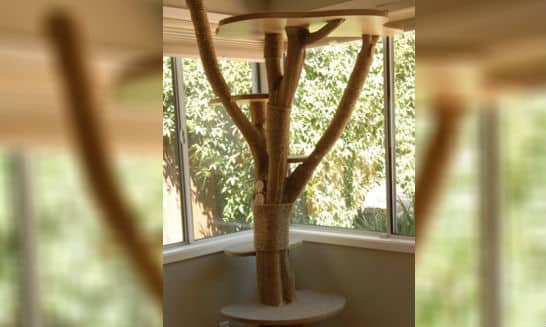
Cats are wonderful, but one of the downsides of living with one is that they will often turn your lovely, expensive furniture into a pile of shredded fabric and wood. One of the best ways to avoid that, of course, is to give your cat something else to scratch, such as a plain scratching post or a more elaborate cat tree (like this one on Amazon) — thereby preventing your precious belongings from being the target.
Most indoor cat trees are pretty ordinary. If you’ve seen one, you’ve seen them all. They are basic structures that don’t exactly make your house look beautiful, which can be frustrating if you appreciate nice aesthetics as much as you love your cats. Not to mention – the best ones aren’t cheap.
But what if you could build your cat a fun and stylish cat tree, DIY-style?
The idea of building something like that by yourself can be pretty daunting. Where do you even begin? Luckily, one woman found herself in the same position, and decided to do something that can inspire us all… and it ended up being a huge success. Not only that, but she was also kind enough to share her work with a step-by-step tutorial!
Here it is for your inspiration!
Jump To Section
Step 1
She didn’t want to use processed wood since that looked too generic and boring. Instead, she started by cutting down a small tree from her front yard (apparently, this tree sprouted as a “weed” in her front yard 8 years earlier and grew like crazy). Next, she removed the leaves, and trimmed the branches.

Step 2
Next, she cut the trunk and removed the bigger branches so the tree could stand without a base. This creation was going to be the center of a lot of some serious cat activity, so it needed to be sturdy.
The highest branch reaches 82″ (208 cm).
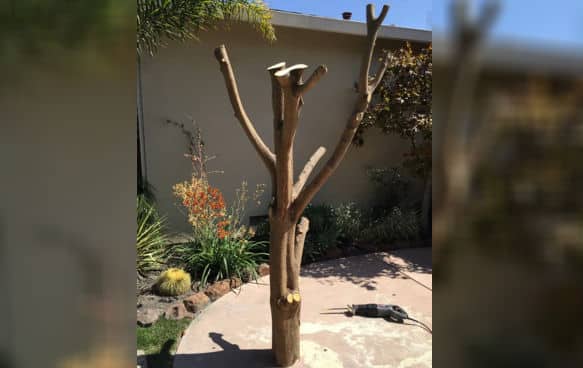
Step 3
Using a circle jigsaw, she then cut two base discs out of plywood for weight and stability. It was good that the tree could stand all on its own, but adding the base discs would keep it from toppling over. The base is 28″ (71 cm) in diameter.
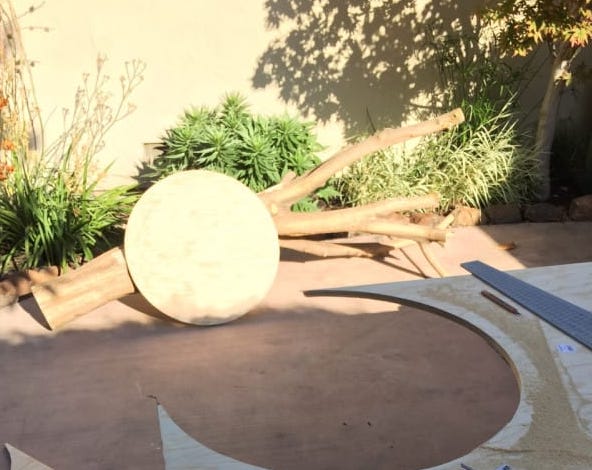
Step 4
The base was attached using lag screws, which were more effective for this kind of project than other simpler ones. These special screws will ensure that the tree will stay connected to the base.
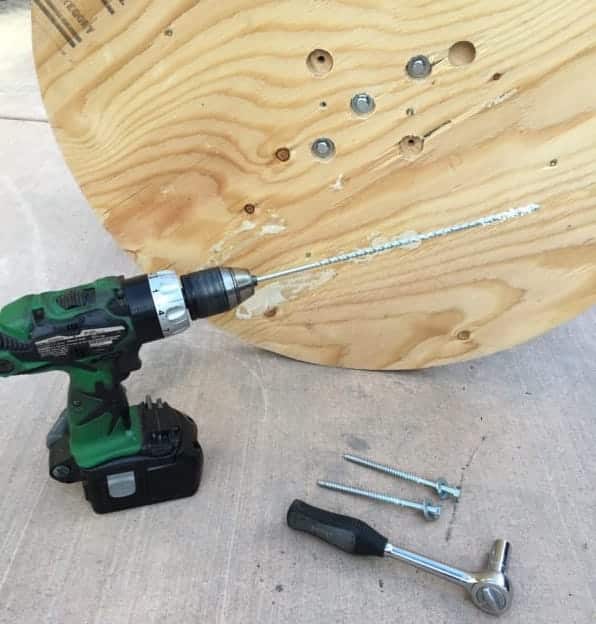
Step 5
The tree was looking good—but she wasn’t done yet. Now that it was able to stand on its own and had a supportive base that could hold additional weight, it was time for the next step…
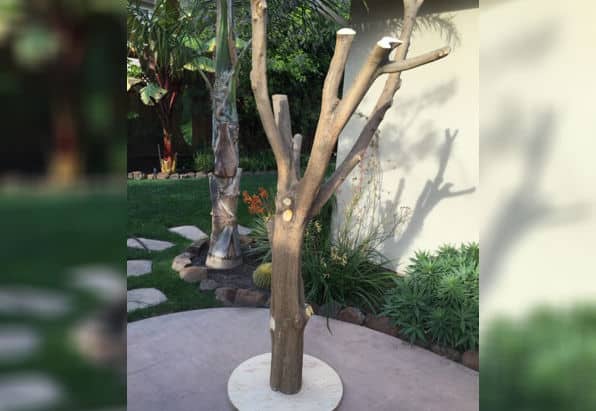
Step 6
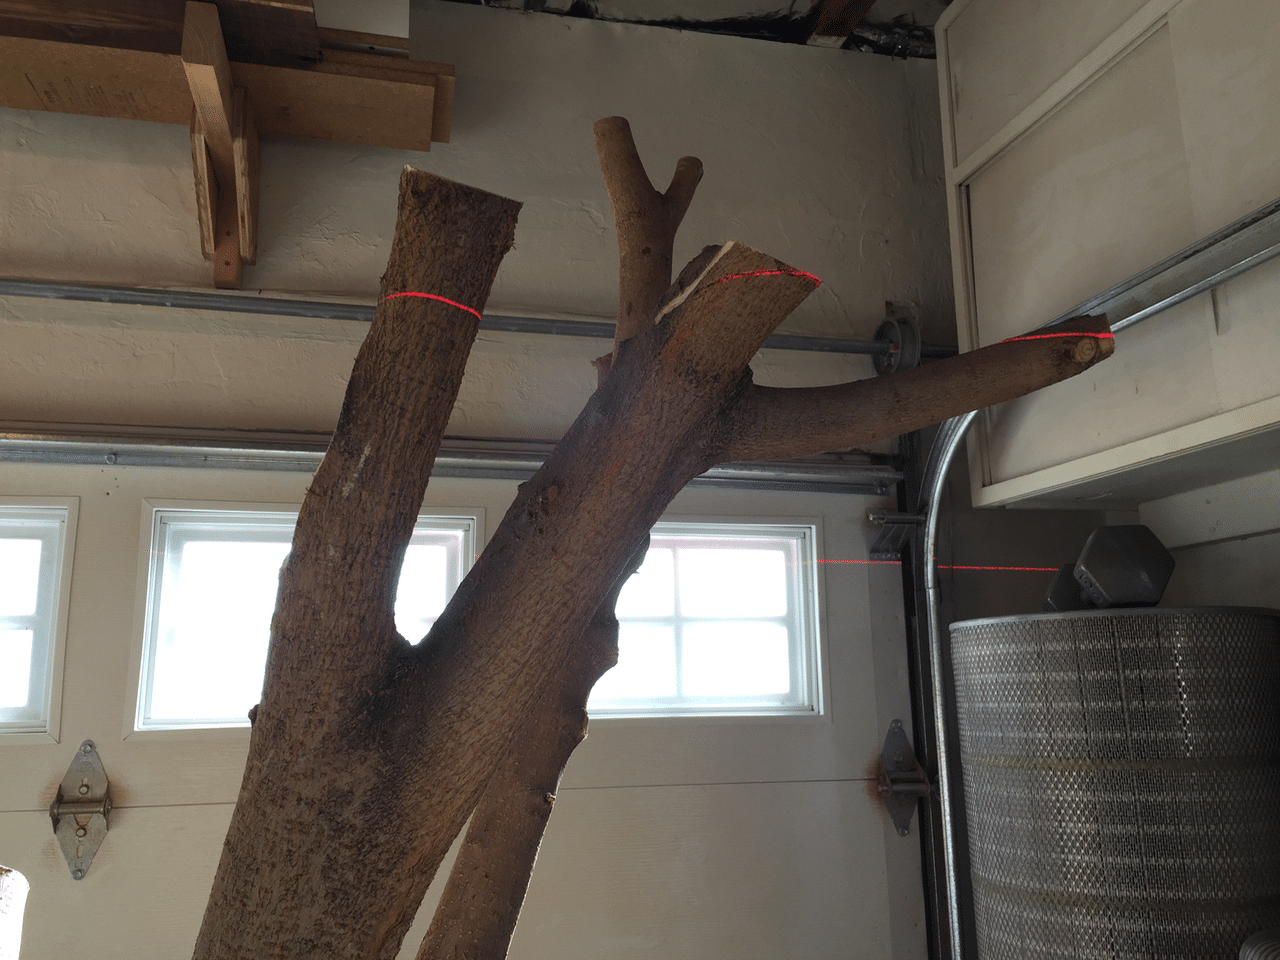
A laser level was then used to cut the tops of the branches smoothly and evenly. If you don’t have a laser level handy, that’s fine; a standard level should do the trick.
Step 7
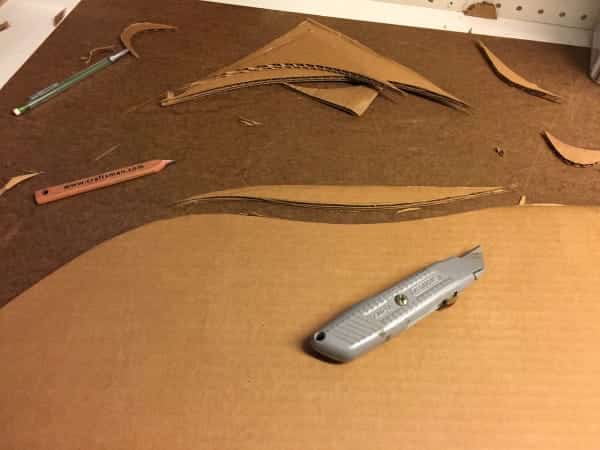
Now it was time to start making the platforms that were to sit on the tree. Rather than just cut into the wood, she carefully created shapes using stencils out of cardboard.
Step 8
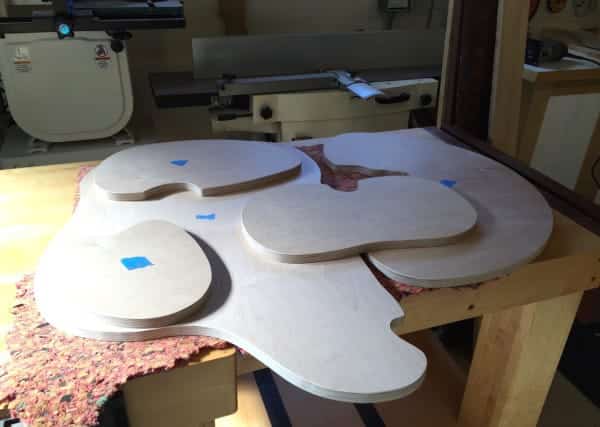
Once this was done, she used the stencils to trace the shapes onto plywood; she then used a jigsaw to cut those shapes. Using a free form like this enabled her to more easily create naturally organic-looking designs.
Step 9
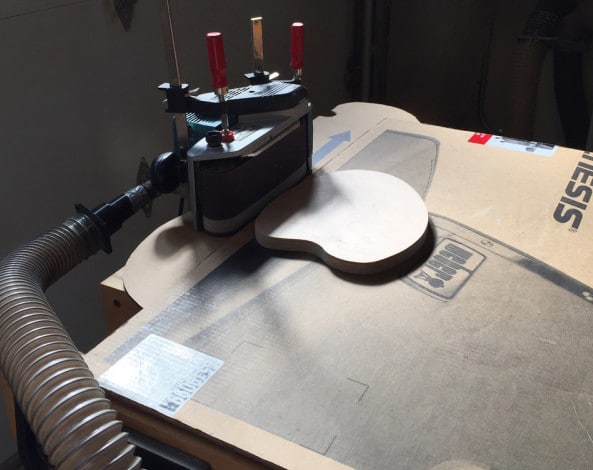
With a belt sander, she then rounded the edges to make the platforms safe for her kitties to play on. While cats are tough little animals, they can still get cuts and splinters.
Step 10
Once this part was done, she added a nice lacquer coat to make the platforms more pleasing to the eye. While shiny and smooth platforms wouldn’t matter much to the cats, they would make the whole project look finished.
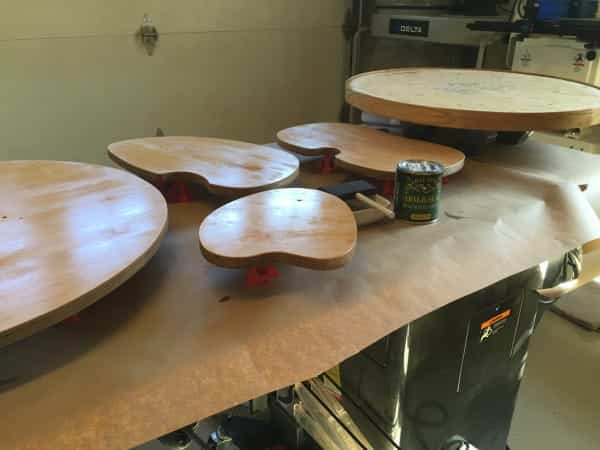
Step 11
The project was moving forward at a tremendous clip and the tree was almost ready to go! She just had to figure out a way to safely mount the completed platforms onto the prepared branches…

Step 12
Everyone knows how much cats like a good piece of carpet to claw, which got her thinking: perhaps what her platforms really needed was a nice patch of carpet for them to really tear up!
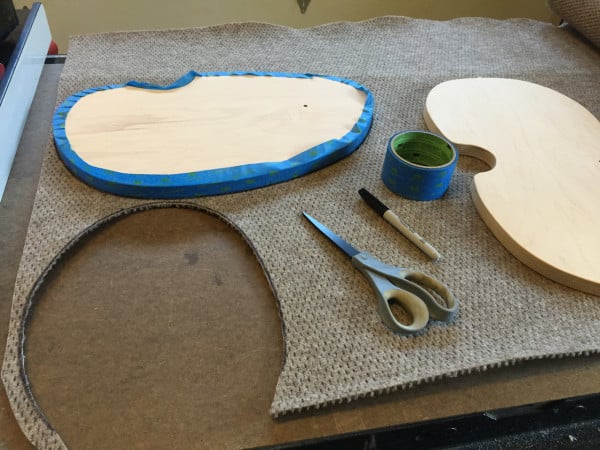
Step 13
Finally, a little over 300 feet (91 meters) of twisted Manilla rope was added so the cats would have plenty of texture to grip while they were climbing. This would also help preserve the tree trunk.
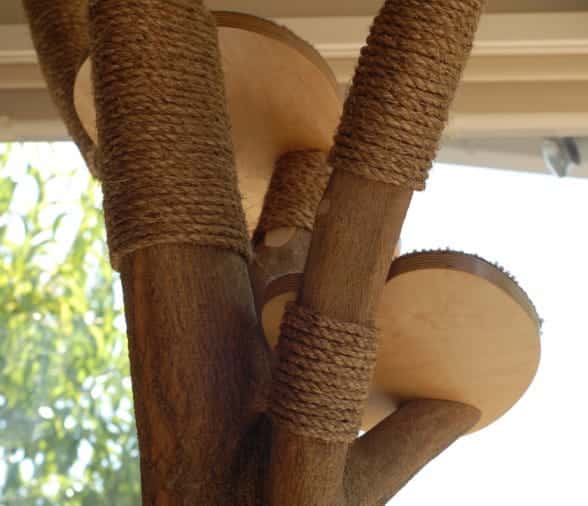
Step 14
Now that’s one impressive cat playground! While it might be indoors, there’s no denying that this DIY project managed to completely capture the beauty and wonder of the outside world. The only thing left was to await her cats’ reaction…

The Completed Project
You can tell this one was totally psyched to start climbing and exploring her new tree! Cats spend so much of their day lying around, it’s nice to see they appreciate their new toy.
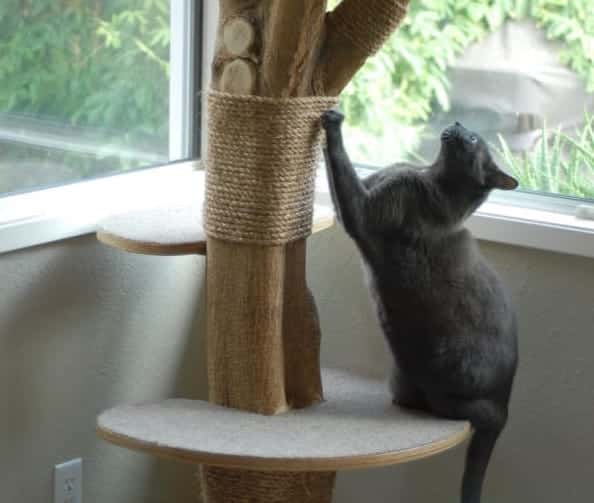
Just an hour after it was installed, her cats were making good use of the tree. At first, they seemed curious, but soon enough, they made it their own. The owner finally didn’t have to worry about her cats messing up the furniture! They seem to have accepted the makeshift tree as their new home. That top shelf is about 75″ (190cm) off the ground and 35″ x 22″ (89 x 55 cm). Plenty of room to lounge around!
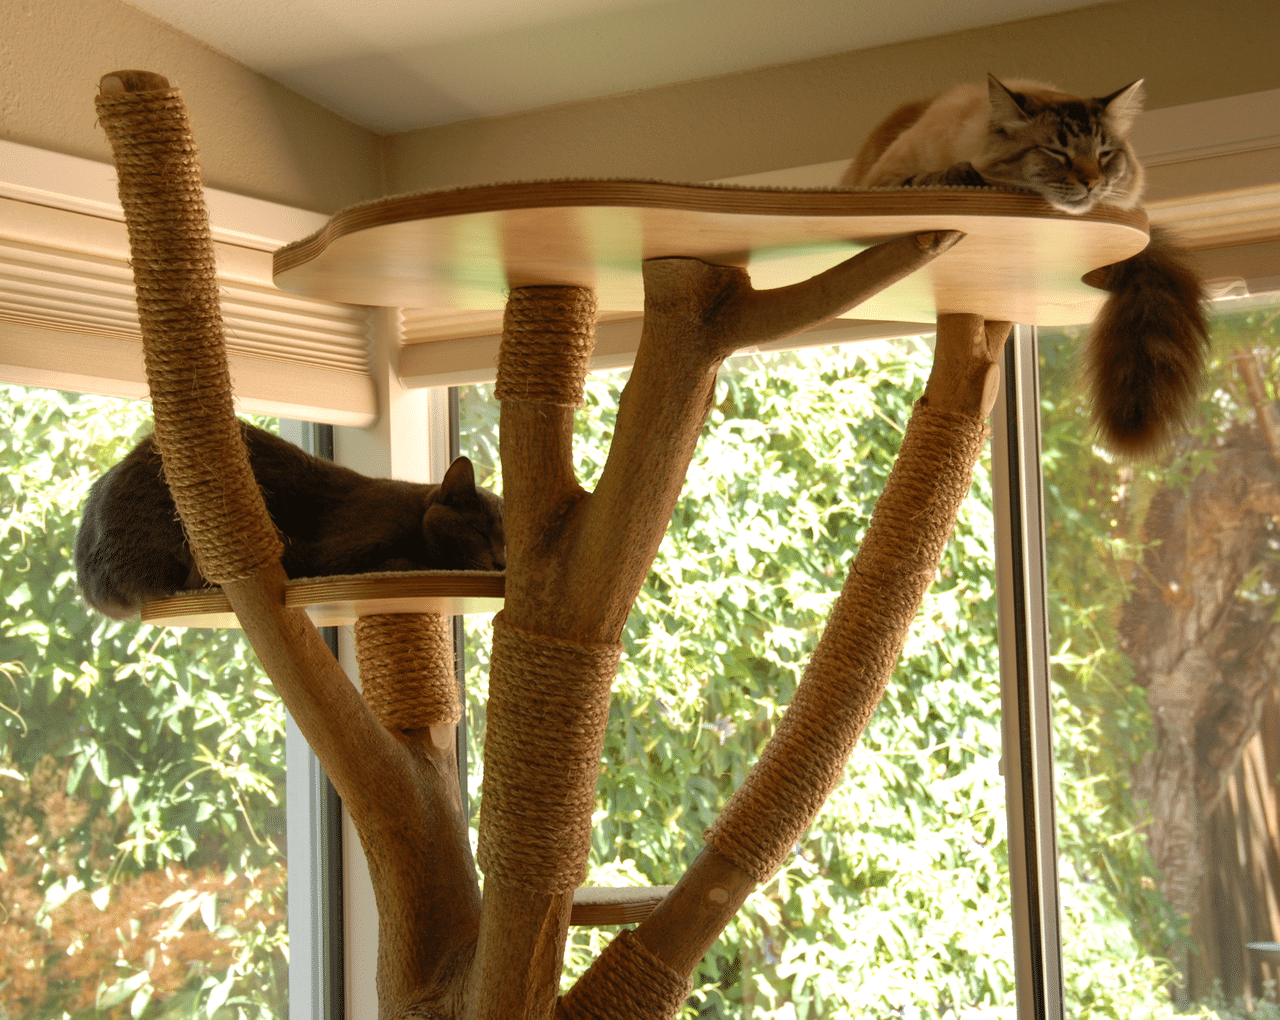
Not only is that an amazing piece of play equipment for cats, it looks great in the home too. Best of all, the cats will now leave the rest of the furniture alone!
Now, time to get busy building your own!


